How to Create an Emulator in Android Studio
In this article, we will take a look at how to create an emulator in Android Studio.
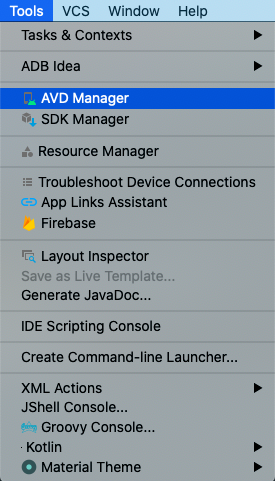
First, open Android Studio to create a project or open an existing project. Now, Click on the Tools in the top menu and then on AVD Manager.
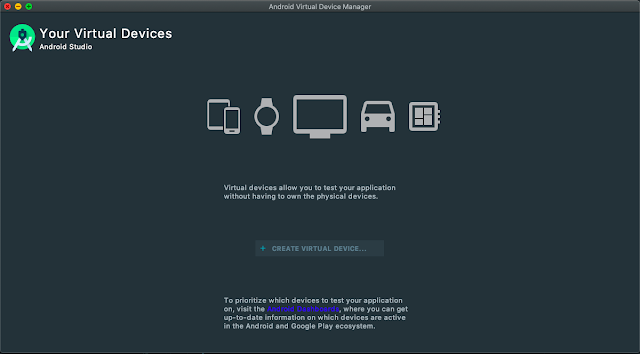
This opens the Android Virtual Device Manager where we can create our emulators.
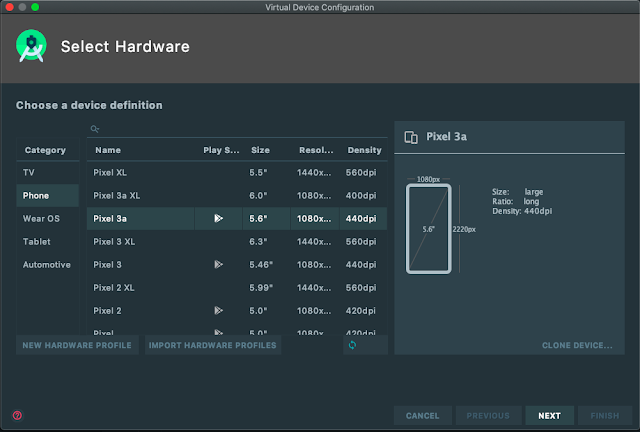
Start the creation of the emulator by clicking on the Create Virtual Device button. It opens a new screen where we select the device hardware.
In addition to the available hardware profiles, we can import an existing profile or create new hardware by clicking on the options at the bottom left.
Click Next after selecting the hardware profile. Now we are asked to select the OS Version. Select the preferred one and download it if necessary. After that, click Next.
Verify the configuration of the selected hardware. If we want to tweak more than the AVD name then in the advanced settings we can change the number of cores, RAM, internal Storage space, external storage space and more.
Finally, click Finish to create the emulator and the created one is shown in the list.
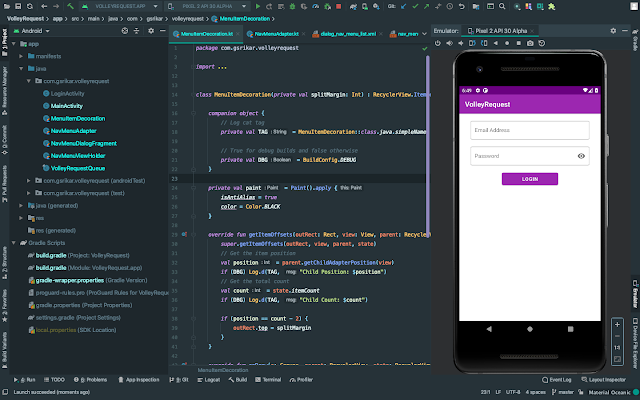
Start the emulator by clicking on the play arrow and as soon as it is started we can install the applications to test.


