Add Navigation Components to the Project
Navigation helps the users navigate inside the application between fragments and the activity. Navigation Component, on the other hand, is part of Android Jetpack and helps us (the developers) build navigation for component clicks, deep links and more.
Navigation Component consists of Navigation Graph, Nav Host and the Nav Controller. We will talk about them in detail throughout the article and implement it.

Navigation Component consists of Navigation Graph, Nav Host and the Nav Controller. We will talk about them in detail throughout the article and implement it.

1. First, add the dependencies to the module level
build.gradle file.implementation 'androidx.navigation:navigation-fragment-ktx:2.2.0'
implementation 'androidx.navigation:navigation-ui-ktx:2.2.0'
2. Create a Nav Host
The Nav Host is a container for all the fragments to be shown on. With the help of Nav Controller, the developer can navigate the user between fragments and nested nav graphs.
<fragment android:layout_width="match_parent"
    android:id="@+id/nav_host_fragment"
    app:defaultNavHost="true"
    app:navGraph="@navigation/main_navigation"
    android:name="androidx.navigation.fragment.NavHostFragment"
    android:layout_height="match_parent"/>
In the above implementation, three attributes are important namely,
android:name, app:navGraph and app:defaultNavHost.android:name contains the name of the NavHostFragment. app:navGraph contains the path to the navigation graph. Set app:defaultNavHost to true which ensures appropriate behavior for back button clicks.
3. Create a Navigation Graph and add Fragments
Create a Navigation Graph with the name
main_navigation.xml inside the navigation folder. Navigation Graph contains the destinations and actions. Destinations are the fragments the user interacts with and the action shows user navigation inside the app (as shown in the figure above).
<navigation xmlns:android="http://schemas.android.com/apk/res/android"
    xmlns:app="http://schemas.android.com/apk/res-auto"
    xmlns:tools="http://schemas.android.com/tools"
    android:id="@+id/main_navigation"
    app:startDestination="@id/loginFragment">

    <fragment
        android:id="@+id/loginFragment"
        android:name="com.gsrikar.ecommerce.ui.login.LoginFragment"
        android:label="Login"
        tools:layout="@layout/login_fragment" />
</navigation>
To add
Set any fragment id to the
LoginFragment to the Navigation Graph, set fragment class name to the android:name attribute and toolbar title as android:label.Set any fragment id to the
app:startDestination and this is the first and the last screen the user sees when opening the application or closing it.
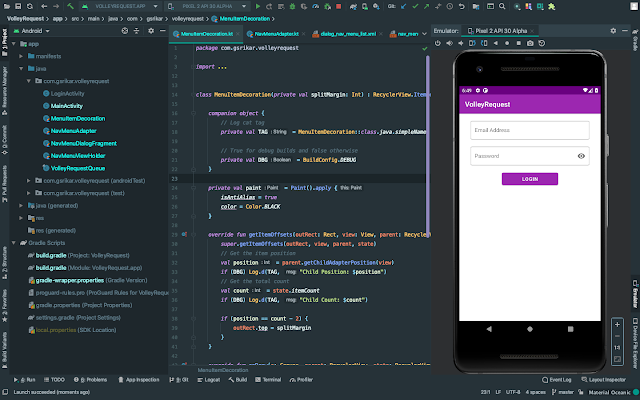
Finally, you can remove the fragment transactions from the activity or other fragments like below.
if (savedInstanceState == null) {
    supportFragmentManager.beginTransaction()
        .replace(R.id.container, LoginFragment.newInstance())
        .commitNow()
}
Run the application and you should see the Login Fragment.